Car Interior Detailing Inside & Out | Here a Step-by-Step Guide

Introduction
Contents
ToggleNowadays we spend most of our time traveling. So it’s natural that our car’s interior needs some car interior detailing, not only for a glossy appearance but also for the durability and resale value of the car.
In this guide we will dive into the step-by-step approach to enhance the overall look and feel of your vehicle inside and out.
Understanding the importance of Car Interior Detailing
Car detailing is not merely a cosmetic trial, it’s a universal approach to vehicle maintenance. A well-detailed car not only looks stunning but also functions ideally.
Detailing helps protect your car from the harsh elements, avoid wear and tear, and maintain its overall aesthetic appeal.

Is car interior detailing worth it?
The question of detailing a car has always been upfront whether we should opt doing it or not. So the answer is “Yes”. Imagine stepping inside a car which even smells not good will eventually create a sense of discomfort.
Car Interior detailing enhances the driving experience and overall ambiance ensuring hygiene and comfort. Moreover a well maintained car detailing can ensure high price resale value too.
Is car interior detailing expensive?
Even though the cost of interior detailing can vary, it’s important to think about the benefits in the long run. Taking in account the Do-It-Yourself approach is a financially wise choice, permitting you to put resources into quality cleaning supplies for secondary use.
Then again, if we consider professional detailing services they may charge high prices but with that also offer quality work.
The key is to scale the forthright expenses against the drawn out benefits, remembering possible reserve funds for fixes and support.

How to detail your car inside out? Step-by-Step Guide
Following are the steps you need to keep in mind while doing car interior detailing:
Step 1: Clean up the Interior
Remove things you don’t need and are unnecessary. It will give you a neat and clean look. Take out trash and personal belongings from the car, and any item that doesn’t belong there. This minor change will help you a lot and will make your work easy with creating any obstruction.
Step 2: Mats cleaning
Take off the floor mats and shake them well to remove dirt soil. Subjecting upon the material, you can either vacuum or wash them down. Stains and dirt can be removed by using some detergent or cleaner. You can simply make an all-purpose homemade cleaner as illustrated in this video. Leave them to dry completely before putting them back in the vehicle.
Step 3: Use Vacuum
Use a strong vacuum cleaner to eliminate soil, residue, and garbage from the rugs, floor mats, and seats. Focus on parts which are separated and difficult-to-arrive regions. Use attachments for better experience and ease.
Step 4: Remove any remaining dust from the vehicle
Utilize a delicate brush or microfiber cloth to slightly remove dust from the dashboard, mid console area, and different surfaces. Be careful, getting into vents, handles, or any other entangled areas.
Step 5: Frame and Ledges
Clean the door frames and ledges utilizing any detergent or homemade material with a soft toothbrush. This thing will give a clean touch and will also prevent dirt buildup for a while on your vehicle.
Step 6: Headlining Touch Up
Never apply any chemical or wipes directly to the headlining otherwise it will cause damage to the surface. Avoid any harm by gently cleaning it first with a microfiber cloth.
Step 7: Seat Cleaning
Choose a cleaner that is suitable for your fabric seats—leather, cloth, etc. Remove any stains by spraying and then gently wipe it with a microfiber cloth. After cleaning, you should use a conditioner on the seats to give a shiny texture.
Step 8: Saturate the Seats
Thorough cleaning will not get you a proper finished look. Use an upholstery impregnated product which will not only clean the overall surface but will also prevent wear and tear.
Step 9: Trim Safety
Clean inside trim pieces with a suitable cleaner. Apply a protectant to forestall blurring and breaking. Glare can be caused by using products with a greasy finish on sunny days.
Step 10: Deal with the Scent:
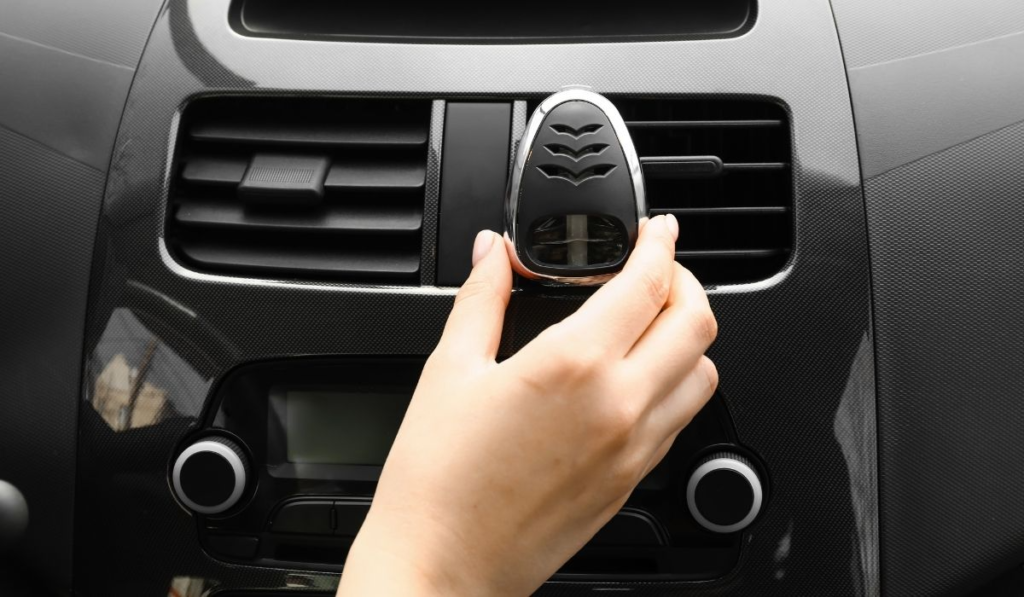
Consider using a vehicle air freshener or scent eliminator to keep the inside smelling good. Be aware of overwhelming fragrances, and pick a scent that suits your aptitude.
Step 11: Windows Cleaning
Wrap up by cleaning the interior and use a glass cleaner and a microfiber fabric to windows to avoid smudges. Guaranteeing a streak free finish for clear visibility.
Following these steps will leave your vehicle’s inside looking and smelling perfect and very much kept up with. Always use products that are appropriate for the particular materials and surfaces of your vehicle.
Conclusion
Car interior detailing is a rewarding investment that goes beyond a sparkling clean interior. It enhances the overall driving experience, contributes to the vehicle’s durability, and can save you money in the long run.
Whether you choose the DIY route or opt for professional detailing services, the benefits are undeniable. Follow the step-by-step guide outlined in this post, and watch as your car transforms into a refined, well-maintained masterpiece, inside and out.
Recent Posts
Recent Comments

Top 10 Best Car Odor Eliminators to Freshen Up Your Ride

Professional Car Detailing vs DIY Car Detailing: Pros & Cons

Ultimate Guide to Car Wheel Cleaning for a Gleaming Ride

An Ultimate Guide to Car Cleaning: Tips, Tricks, and Products - 2024

Top 10 Best Car Odor Eliminators to Freshen Up Your Ride

Professional Car Detailing vs DIY Car Detailing: Pros & Cons

8 DIY Car Wash Solution Recipes for a Spotless Shine

